
For anyone who loves sewing, crafting, or tailoring garments, precision tools are the backbone of every successful project. From sewing machines and measuring tapes to sharp fabric scissors, having the right equipment makes all the difference. However, even among experienced crafters, some small design details on everyday tools go unnoticed for years.
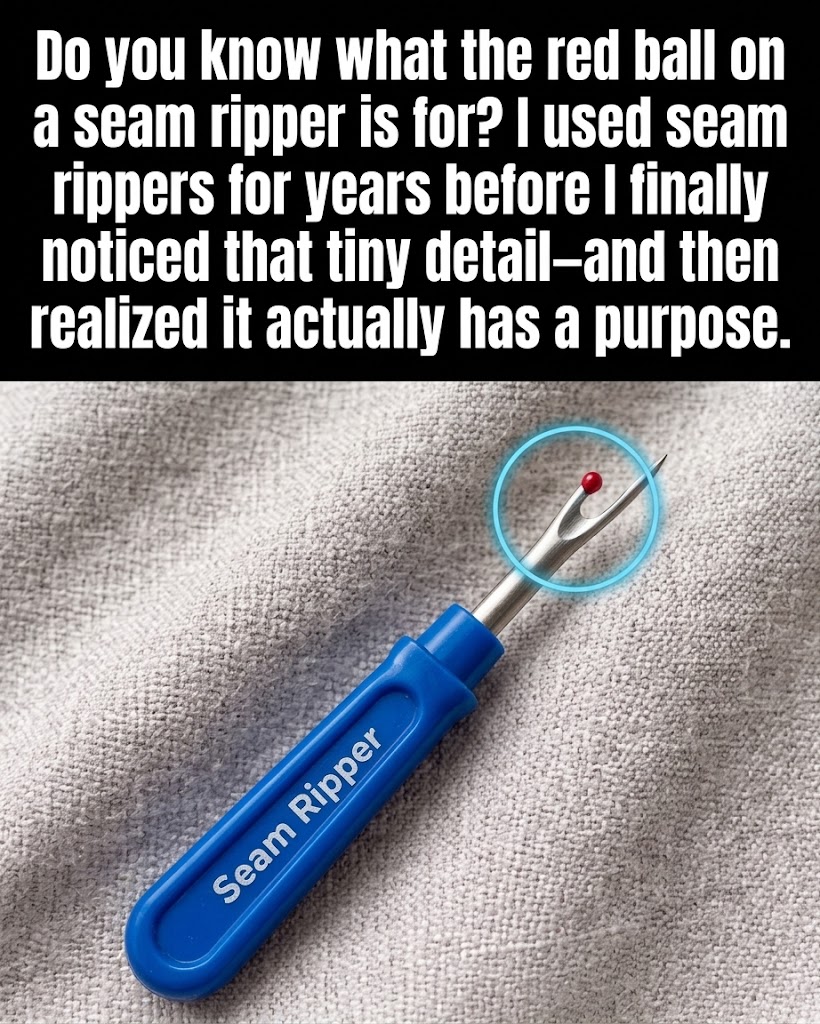
A prime example is the humble seam ripper—a staple in every sewing basket. While most people use it simply to undo stitching errors, many users eventually notice a tiny detail: the small red ball resting on the tip of the tool’s fork. Discovering that this tiny feature actually has a specific purpose can completely transform how you fix mistakes and handle delicate fabrics.
This comprehensive guide explores the clever engineering behind seam rippers, essential sewing techniques, historical facts, and practical tips to elevate your crafting efficiency.
The Engineering and Anatomy of a Seam Ripper
To understand why the red ball exists, it helps to examine the structure of a standard seam ripper.
The Forked Design
The metal head of a seam ripper consists of a long prong and a short prong. The inner curve of the fork contains a razor-sharp cutting edge designed to slice through threads effortlessly.
The Purpose of the Red Ball (Protective Safety Tip)
The small red ball (often called the protective ball or safety dot) sits directly on the tip of the longer prong. Far from being just a decorative cap, this ball serves a vital functional purpose:
-
Fabric Protection: When you slide the long prong underneath a tight stitch, the smooth ball acts as a guard, preventing the sharp metal point from piercing, tearing, or snagging the underlying fabric.
-
Stitch Guidance: It helps glide smoothly along the seam line, keeping the blade elevated at the precise angle needed to sever threads without damaging the garment.
Step-by-Step Guide: How to Use a Seam Ripper Correctly
Using a seam ripper correctly saves time and prevents accidental damage to handmade or store-bought clothes.
1. Positioning the Tool
Slide the long prong—with the red protective ball at the end—directly underneath the thread you want to cut, keeping it flat against the fabric surface.
2. Cutting the Thread
Push the tool forward gently so the thread slides down into the inner V-shaped curve, where the razor blade cuts it cleanly.
3. Clearing Loose Threads
Once every few stitches are cut, turn the fabric over and pull out the loose thread ends using your fingers or a pair of fine tweezers.
Financial Savings and Smart Tailoring Habits
Knowing how to properly alter, repair, and adjust garments is a fantastic way to save money and promote sustainable living.
Extending Garment Lifespans
-
Clothing Alterations: Instead of discarding ill-fitting clothes or paying steep tailoring fees, you can use a seam ripper to take in seams, adjust waistbands, or alter hemlines at home.
-
Thrift Store Upcycling: Transforming oversized or outdated thrift store finds into modern, custom-fitted apparel is a rewarding, budget-friendly hobby.
Important Safety Guidelines and Tool Care
Because seam rippers feature exposed blades, proper handling and storage are essential:
-
Always Use the Cap: When your seam ripper is not in use, snap the clear plastic safety cover back over the prongs to protect the blade from dulling and prevent accidental injuries in your sewing kit.
-
Replace Dull Blades: Over time, metal blades can become dull. If you find yourself forcing the tool through threads rather than slicing smoothly, it is time to replace it for a few dollars to protect your fabrics.
Interesting Historical Facts About Sewing and Notions
-
Ancient Stitching: Humans have been sewing garments using bone needles and animal sinew for tens of thousands of years, long before modern steel tools and synthetic threads were invented.
-
The Evolution of Notions: Small sewing accessories—collectively known in the trade as “notions”—have evolved dramatically from crude handmade instruments into precision-engineered ergonomic tools designed to make crafting easier.
Conclusion: Master Your Crafting Tools
Small details often make the biggest difference in sewing and crafting. Recognizing the true purpose of features like the red ball on a seam ripper allows you to work faster, cleaner, and with greater confidence. By combining proper tool techniques with sustainable tailoring habits, you can elevate your sewing projects to a professional level.
Frequently Asked Questions (FAQ)
What should I do if my seam ripper keeps cutting the fabric?
If your tool is tearing your fabric, you may be pushing the blade down into the material instead of sliding the long prong flat underneath the thread. Always ensure the protective ball leads the way to shield your cloth.
Can I sharpen a dull seam ripper?
Because seam rippers are extremely inexpensive, it is generally recommended to replace them rather than attempt to sharpen the tiny inner blade.
Are all seam rippers designed with a red safety ball?
While many traditional designs feature a red or colored plastic ball on the tip, some modern or ergonomic seam rippers use alternative protective guards or specialized blade angles.
